
I was contacted by a client to refinish an early 2000's SG Supreme from its factory "Midnightburst" (dark blue burst) finish to a lighter finish that would better show off the flamed maple top.
The dark blue factory finish really was too dark to show off the flamed maple top except for under very bright light.
Rather than simply redoing the top in a lighter transparent blue, he inquired about changing the top to a transparent purple or amethyst burst finish, while leaving the back of the body and the neck in the factory midnight blue. To illustrate the color he was interested in, he sent along a picture of a large amethyst crystal that captured the color and depth he preferred.

I told him I could try, but the final finish that resulted would depend upon the color of the underlying maple - and also - how cleanly I could strip the maple top.
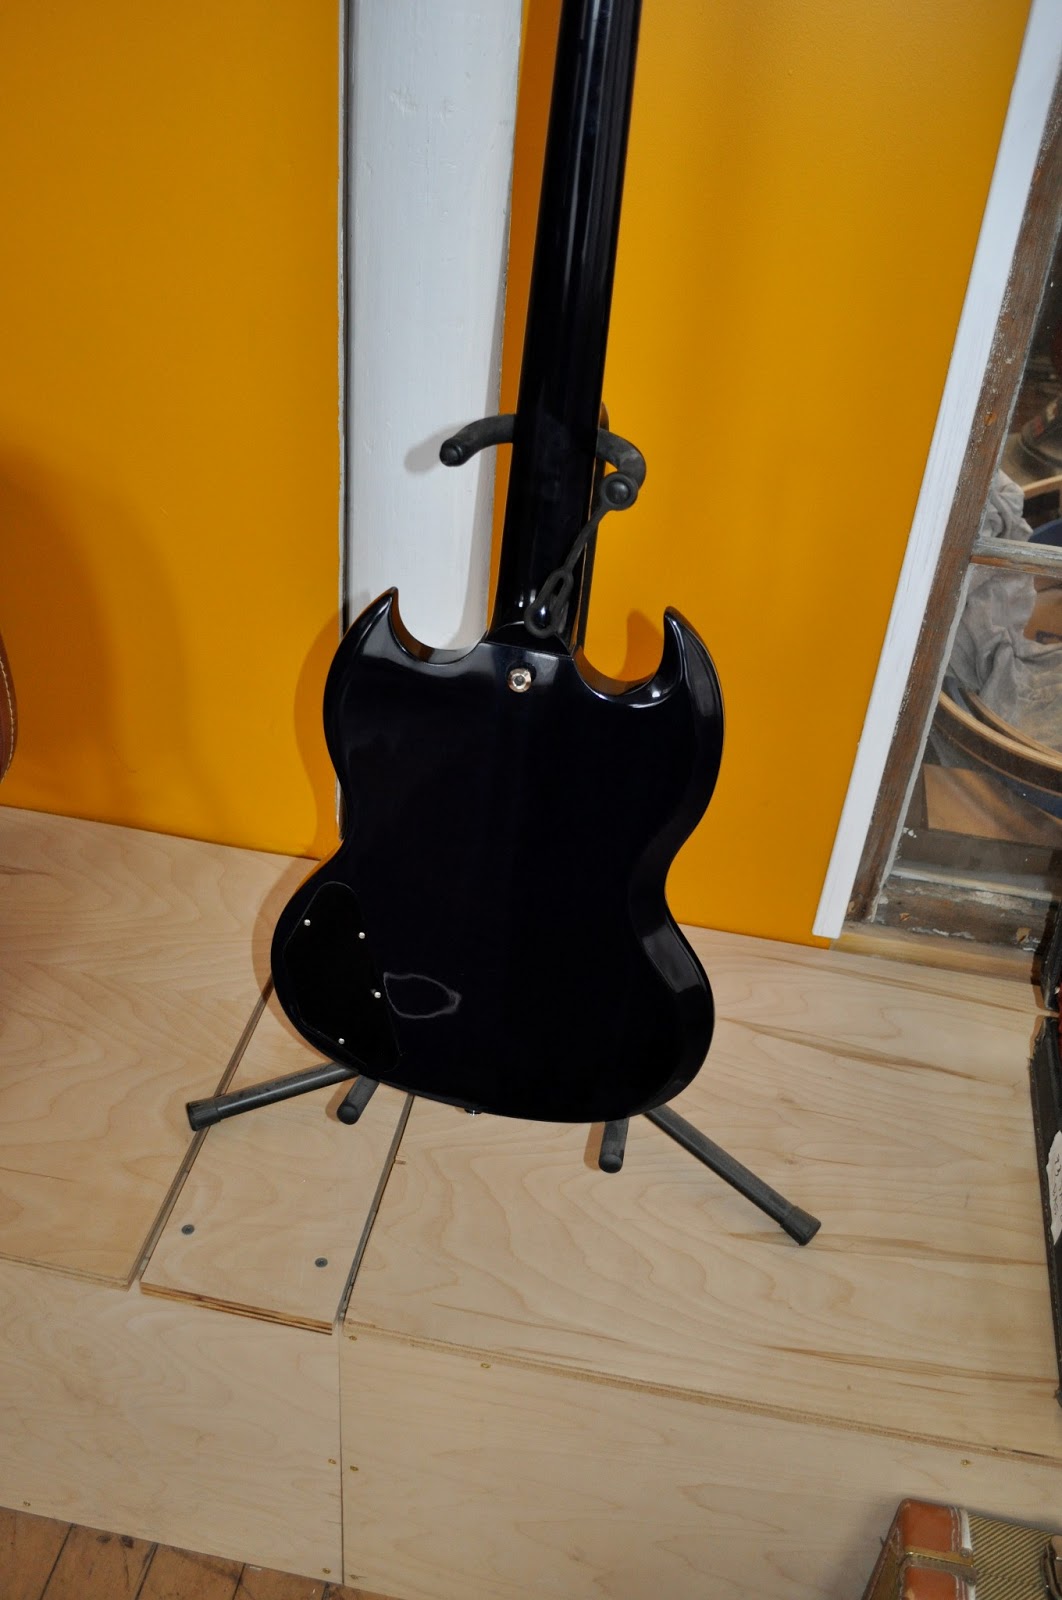
When I first got the guitar - I could see what the owner meant - the flamed maple was clearly visible under a strong light - or with the use of a flash, but under typical lighting, the guitar simply appeared to be dark blue fading to nearly black around the edges.
The picture below is a bit misleading - this was taken under a strong bench light AND with a flash - the guitar was much darker in person.

After disassembly, the first step was to strip the top of the guitar, while trying to not damage the finish of the sides of the guitar and instead establishing a nice straight line to go from the lighter purple finish to the midnight blue sides and back. Because of the difference in colors, it was not going to be possible to fade one color into the other along the sides.
Fortunately - Gibson still did use nitrocellulose lacquer on the the SG Supreme - making it much easier to strip than a polyurethane finish. However - it quickly became apparent that it was going to be difficult to get all of the remnants of the blue finish out of the grain of the flamed maple - especially the darker "stripes", which are more open-pored than the lighter body of the maple.
I masked the sides as well as I could using decent quality 3M "blue" tape - and then tried to keep the chemical stripper at least 1/4 inch away from the actual edge of the masking, to avoid any of it seeping under the tape.
Using this approach, I was able to strip the majority of the finish off the top - using a mix of scraping and sanding to get it off closer to the edge of the body. There were a few small areas where the finish DID soften under the tape from the stripper - inside a small part of each of the horns, along the edge of the top bevel in one spot and a small area at the butt of the guitar. The finish didn't come off in these areas, but it did become uneven - which was frustrating - I'll have to experiment with better masking tape and maybe give myself a broader margin from the edge when using strippers in the future.
After the chemical stripping - finished scraping the edges bare and then sanded to entire top - partially with my random orbital sander and the rest with a sanding block and by hand - working down to 320 grit on the orbital sander and then 600 grit with the sanding block.
As you can see in the pictures below - some of the blue did remain in the grain in a few areas - for example near the controls and a few edge areas. I wasn't as concerned with the edges - since those would have the darkest part of the amethyst burst, but I was concerned about areas closer to the center of the body, where the lightest part of the purple burst finish would be.


I clearcoated the top for two reasons - first to seal the grain of the maple which would allow for any future refinish to not have deal with color trapped in the grain (Gibson doesn't do this step - maybe because they feel it lessens the flame ?). The second reason was for me to see how the flame top looked vs. the remnants of blue in the finish.

The clear coat really made the flame "pop" - but did show up the blue that was still in the grain. I shared the pictures with the client and cautioned him that some of the blue might show up as darker areas through the amethyst burst, but he said to go ahead.
I also test sprayed a piece of rock maple that was similarly light in color with a tinted clear coat to see what kind of dye mix would yield the desired color. I found that simply using Transtint Purple #6026 in a clear gloss base gave me a color very close to what I wanted. I opted to go light on the color, knowing I could build up density later if I needed to.

Before spraying the top, I first tended to the areas on the edges that had been damaged in the stripping process. I mixed Tintsall Prussian Blue into clear laquer along with a small amount of black laquer to get a midnight blue color that matched the sides of the body. I used the lacquer in its unthinned state - which was quite thick - to touch up and build up the areas with a fine brush. When these areas were dry, I wet sanded them lightly to level them and make sure the color matched. The finish on the sides is essentially opaque, to cover up the transition from the maple top to the mahogany body and neck. There was still a little uneveness in the areas, but I would clear coat over them later so I didn't worry about it at this stage.
Then I sprayed the light purple transparent base coat onto the body. I did mask off the back of the body and the neck again - but I left the midnight blue sides unmasked.

I was happy with the results - and my test slab of rock maple had been a pretty good indicator of the what the guitar would look like !

Now came the darker edge of the "burst" - for which I used the same Purple #6026 dye, but with a lot more dye in the clear gloss base. The goal was to spray a nice dark purple border - and then go back and fade the darker color into the lighter center with a much softer spray.
I was VERY happy with the results - and managed to resist the temptation to make the edge darker and darker and wider and wider - probably my biggest challenge in doing any sunburst finish !!

This detail shot shows the way the original midnight blue finish starts at the edge of the SG top bevel - and the masking on the back of the body and neck.

Once the tinting was set - I clear coated the top with roughly five clear gloss coats - and then after removing the masking on the back - I clear coated the entire body one more time.
After allowing all the coats to cure - I wet sanded and buffed the entire body per usual practice - the top requiring more wet sanding to level the flame maple (which is why it received so many clear coats).
The client liked the final results - and though it is possible to see a few little bits of blue as dark spots in the grain of the maple in a few spots - they are hardly prominent.

The midnight blue, almost black, back of the guitar also goes well with the purple burst top.
Most important - the flame of the maple top itself is now much more visible !


well done sir
ReplyDeleteThat is absolutely beautiful work! I was actually just looking at trying the Transtint dyes for creating a colored lacquer finish or airbrush touch-ups on brass instruments.
ReplyDeleteHey I have an SG Supreme but in Lava Burst. You think you could do something similar here with a lava Burst one?
ReplyDelete