Showing posts with label Krishna Jain. Show all posts

1968 Fender Jazz Bass: Sonic Blue Regret and Restoration


This project represents an unfortunately common scenario from the 1970s, where an instrument's owner decided that the "natural" look was preferable to the original factory custom color.  Guess the attitude was that "wood was good" - during this era a substantial part of Fender's instruments came in clear finish from the factory.

This 1968 Jazz Bass was purchased new in Madrid, Spain during 1969, with a factory Sonic Blue finish - a very rare finish for the late 60s. The owner later moved to the US and sometime later decided to strip the bass to a natural finish.  Later on, the bass was also modified to have an active P-bass pickup and a battery compartment. The matching headstock was also stripped - and had a rectangular sticker on it for many years prior that a repro Fender decal being applied.  Unfortunately the sticker left a lighter colored area on the headstock.

The owner decided to restore the bass to its original finish and mailed the bass to me last fall from his current home in Florida.  After some discussion and research online, we decided to go back to the original Sonic Blue finish, with a matching headstock - with some mild yellowing of the finish to make it look slightly aged.


Traces of the original Sonic Blue were visible in the control cavity, pickup routings and neck pocket - notice how deeply yellowed the finish in pickup routings is - probably because the clear coat collected in those openings and was thicker and therefore yellowed more.


In the neck pocket, the finish was covered up by what almost looked like Lake Placid Blue paint. After being puzzled by this, I believe that what I was actually looking at is residue from the paint stripper that was used in the 1970s - since the Sonic Blue is UNDER the darker blue. The factory numbers - the black 3 and the red 2 - are actually UNDER the residue - which is probably a combination of stripper and sonic blue lacquer that has aged for the past 30 years.

Note the reddish plastic neck shim - this later popped loose after my refinish - revealing a patch of unyellowed Sonic Blue underneath !


The first step was to plug the additional routings that had been done - which meant cleaning them up and squaring them off for alder wood plugs.


The plugs were fitted with any gaps being filled with plasticine-like plumber's epoxy.


After some sanding and a few coats of clear nitro to seal the body, especially the wood plugs - the body was primed with flat white nitro primer.  Note that I skipped dyeing the wood yellow, since as far as I know, by the late 60s Fender had stopped this practice on non-sunburst instruments.


The body required a number of touchups with some Bondo glazing putty - various dings and some filled extra screw holes. But then after some wet sanding, as second coat of white primer was applied and the body was ready for the color coats.


The headstock fadce was sanded bare - clear coated and then also primed with white nitro primer.


Here are the body and headstock after several coats of Sonic Blue lacquer and a few clear coats.


Now came the time to age the color coats slightly - and as I have done in the past, I masked off areas that would have been covered so that they would not be yellowed - namely the bridge, control plate, pickguard and neckplate area.


Though these pictures aren't very well lit - you can see the difference between the aged and unaged clear coat areas.

A similar treatment was given to the headstock - taking care to match the aging as close as possible for an even color.  Several final clear coats were then applied over both the body and headstock prior to wet sanding and buffing.


The final step was the application of the repro decal - which is a water slide decal - and which was applied ONTOP of the finish - as would have been the case in 1968.  Later on Fender started clearcoating over the decals - which made them much more robust.


The darker color here is due to me not using a flash for this picture - Sonic Blue looks radically different in pictures depending on the light source used.  As an example, the two pictures below were taken at the same time - one without a flash - and one with a flash.


Perhaps I'll need to get a better camera and lights !!

The neck and body were shipped back to the owner - who will be assembling it - and sending me pictures of the complete instrument in the near future.  Check back soon !!

read more →

Dean MEL "Melanie Dion Special": Tangerine Dream !!


Here's a project I did for one of my favorite "rock chicks", my friend Melanie Dion. 


Melanie has "pointy" tastes when it comes to guitars, probably a reflection of her musical tastes (METAL!!) and her desire to be armed with an instrument that can also serve as a weapon on stage :)

She and I also share an affinity for the color ORANGE - as anyone who's been to my place knows - there's A LOT of orange around my house  - walls, vases, clothes, coffee mugs, etc. etc. - a loud yet warm color.   About a year ago, I did a simple refin on a Vantage bass Melanie had gotten for free.  I mixed up a batch of color, using some yellow and red pigment in a clear lacquer base - with Mel telling me "more yellow - more red" .. until we got the brilliant orange color she was looking for - now dubbed "Melanie Orange". 


After some sanding and a primer coat, I shot the orange onto the Vantage body and headstock.  The paint job, combined with swapping a Dimarzio pickup into it and regluing a loose neck joint turned it into a cool looking and decent sounding bass for not a whole lot of effort.


I'll also admit that Melanie has managed to influence my instrument tastes such that I'm also more than a little fascinated with some of the pointy instruments that are out there - especially from the crazy days of the 80s - when some real insane designs came out.  The mid-80s Hondo catalog alone is worth a dedicated blog !!


With the resurgence of metal in the last 10 years, some of the classic designs have been reissued, including one of my favorites, the Dean ML - which was originally produced in the late-70s by Dean Zelinsky - and was essentially a Gibson Flying V crossed with the prototype Gibson Explorer/Futura.


Which resulted in a HUGE body and a VERY distinctive look!


Dean has released several different versions of the ML - some with bolt-on necks, some with set necks - with a range of finishes and binding options.  I'm very fond of the Blueburst Dean '79 ML - amazing looking guitar!

Fast forward to this past November - and I came across a much played Dean ML X on Craigslist for sale at a VERY reasonable price.  It was a dinged up, didn't have a case and was a bolt-on neck model as opposed to one of the set neck versions - but I thought it would make a nice basis for customized "Melanie Dion" guitar - even if I had to maybe do some rebuilding and swap out the electronics.  Since the guy selling it had already sold his amp, I bought it on good faith without plugging it in.

When I got home, I was astounded at how massive the guitar sounded going through my Sovtek Big Muff pedal and my old Ampeg B-15 - and how evenly the neck played.  Also realized that the guitar had a nice set of Grover tuners installed - seemingly from the factory.   I dropped the idea of replacing the "Dean" labeled humbuckers with reissue Gibson PAFs because the stock pickups had a great metal and hardcore sound to them.


The guitar was also very light for its massive size - I assume the body is made of basswood or agathis - with a maple neck.  Unfortunately the lightweight wood and lack of case meant there were some decent dings and slashes to repair around the edges as well as some small stress cracks near the neck pocket - but nothing major.

The first step was to disassemble the guitar and then start sanding down the finish to get a good even surface.  The headstock face was carefully masked off to preserve the Dean logo as well.  Some of the worst dings are pictured below


The dings were rouged up with a coarse file - and then filled with plumbers epoxy - which was then filed and sanded to shape to restore the edge contours.


The body was now ready for priming with flat white nitro primer - the few remaining small flaws were filled with a little red glazing putty to get the body ready for the color coats.


As I related before, Melanie had mixed up a tint of orange with me a while ago - I had a small amount of it left over in a paint jar but I knew I needed to mix more for this project.  I mixed up a larger batch of the color in a new jar - by putting them side to side it was pretty easy to match the colors exactly - especially since it was a simple mix of a little red added to a yellow base.


And we get .. MELANIE ORANGE !!

Now comes the fun part - when the color goes on ..
First, a spray around the edges to build up a thicker color coat there to guard against sand throughs when I wet sand later.
Then building up to a solid color coat on both the body and the neck.  I ended up spraying three or four color coats - with a little heavier spray on the bottoms of the two "legs" of the body - as I knew the guitar would end up standing on floors that way.


I like this color so much that I may eventually have Easter Chem-Lac mix me a gallon of it in nitrocellulose - I have a few projects in mind ..

Roughly 5 coats of clear gloss nitro followed the color coats.  For the clear coats, I unmasked the edge of the fretboard on the neck so that the edges of the fretboard would get clear coated too - thereby minimizing the sanding I'd have to do to get rid of any paint "ridge" along the edges of the neck.

Once the clear coats were set, I wet sanded with 800, 1000 and 1500 grit paper - before buffing with two different grits of silicon-free automotive compound.


I had decided that the orange color would really "pop" if the guitar had a white pickguard - the question was what shape would be appropriate?   Once the paint had set for a few days, I got out some paper and started doodling and cutting out different guard shapes - some inspired by the Gibson Flying V, and going under the three controls - and some more Gibson Firebird like.


Extending the Firebird-style guard to follow the lines of the lower horn but with a slight upward curve towards the bridge ended up looking good.  The paper pattern was then used to cut and shape a masonite form - which I then used with a router to cut and bevel the actual pickguard.

Next came some further minor customization - namely - making this guitar into a "signature model" !!
I was inspired by the "ML X" lettering on the truss-rod cover - figured I could find some white rub-on lettering and change that to "MEL" - just to be cute.   But while searching for rub-on lettering online, I found that I could buy water-slide decal material that was ink-jet printable - which meant that I could then add a matching orange logo to the guitar !!  Micromark has some amazing products for custom work.


I printed several different logos and sizes - clear coated them - and then cut them apart to try them out against the pickguard.  You can see that the electronics and hardware have been installed at this point - though I didn't drill the mounting holes for the pickguard until the last step.


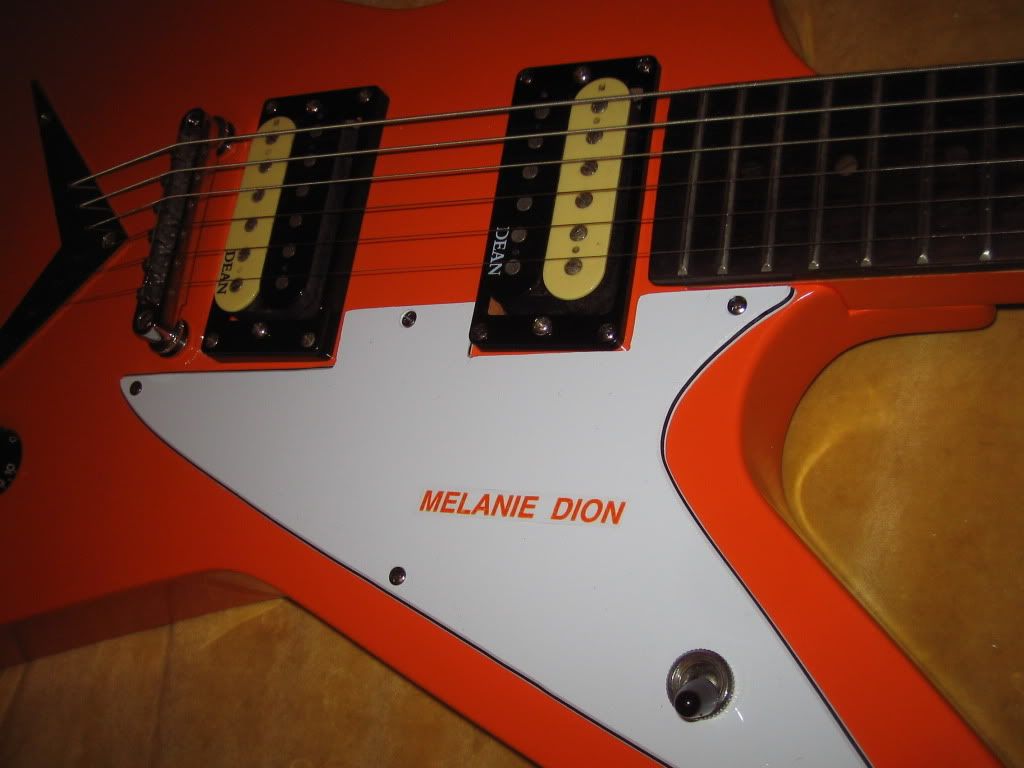
The printed decals were actually very hard to apply - as they tended to curl up - perhaps I put too many clear coats on the face of the material - or maybe the material is just better suited for wider decals.  I ended up going with a simple solid orange logo that was just Melanie's name.

I also had to replace the output jack and some wiring - but eventually the guitar was completely together - I even tracked down an "extreme" gig bag that was designed for the larger bodied metal guitars, such as Flying Vs and MLs.

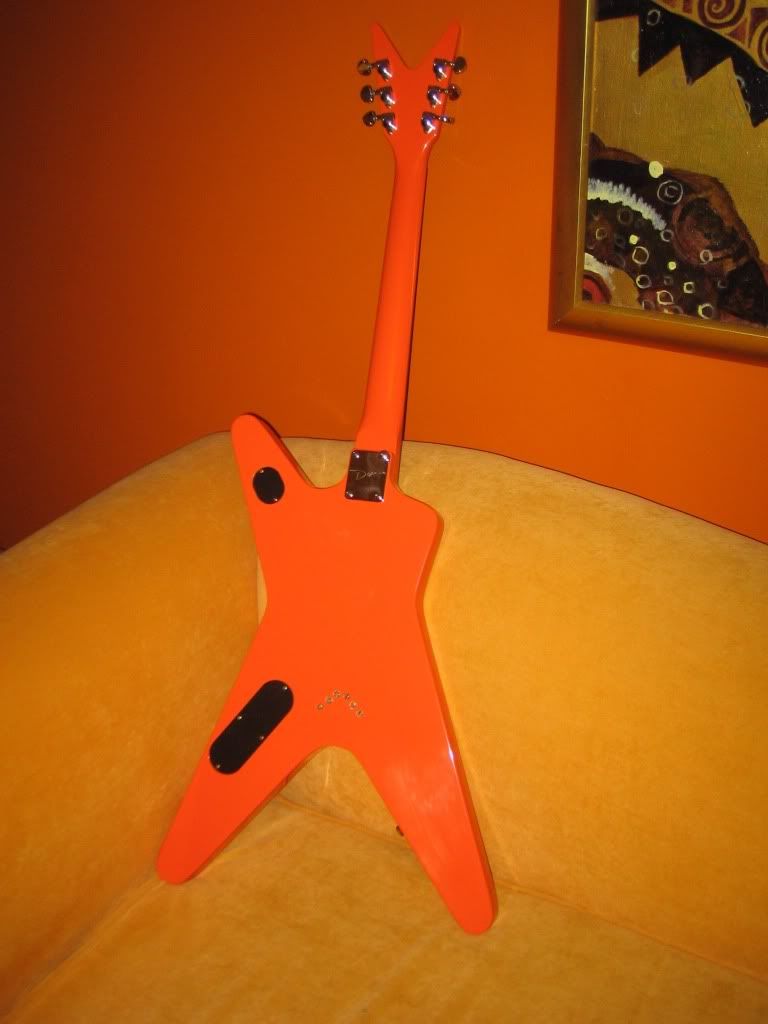
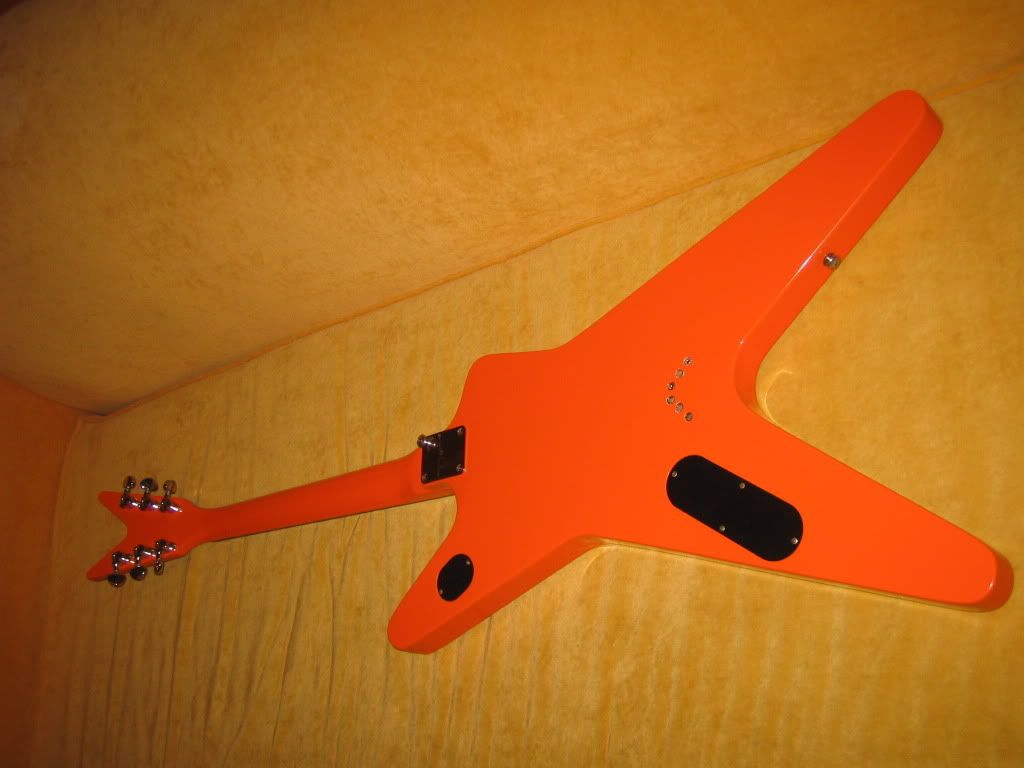
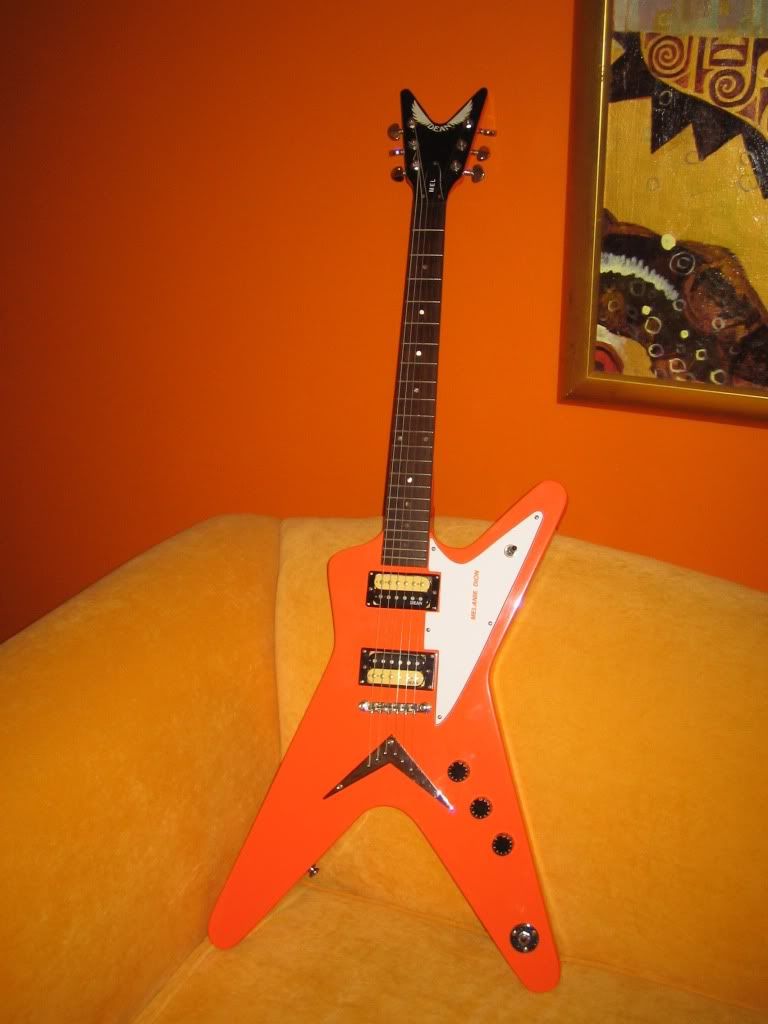
And here is the final product ...  double-click on the pictures to open up full size images !!

And .. Happy Birthday Melanie !!!  Can't wait to see you playing this thing on stage somewhere ???


read more →